Open5GS와 UERANSIM을 이용하여 EC2에 배포하여 5G 코어 네트워크를 시험하려 합니다.
아래 그림과 같이 UERANSIM, Open5GS를 각각 EC2에 올리도록 합니다.

구축 순서는 다음과 같습니다.
1. AWS 구성
2. Open5GS 설치, Webui 설정, AMF, UPF 설정
3. UERANSIM 설치, UE 등록
4. 결과확인
1. AWS 구성
먼저, AWS의 VPC 구성, EC2 생성, 보안그룹등은 CDK 혹은 CloudFormation을 이용하여 생성합니다.
아래는 Python을 이용하여 작성한 CDK 소스코드입니다.
from aws_cdk import (
    # Duration,
    Stack,
    # aws_sqs as sqs,
    # add ec2 lib
    aws_ec2 as ec2,
    # add iam
    aws_iam as iam,
    CfnOutput,

)
from constructs import Construct


class HelloOpen5GsQuickstartStack(Stack):

    def __init__(self, scope: Construct, construct_id: str, **kwargs) -> None:
        super().__init__(scope, construct_id, **kwargs)

        ROLE_ARN = "Input your Role ARN"
        KEY_PAIR = "Input your Key Pair"

        # fromLookup defaultVpc
        defaultVpc = ec2.Vpc.from_lookup(self, "VPC", is_default=True)

        # make a security group
        my_sg = ec2.SecurityGroup(
            self, "HelloOpen5GsQuickstartSG", vpc=defaultVpc)

        # Ingress rule
        my_sg.add_ingress_rule(ec2.Peer.any_ipv4(), ec2.Port.tcp(
            22), "allow ssh from anywhere")
        my_sg.add_ingress_rule(ec2.Peer.any_ipv4(),
                               ec2.Port.all_icmp(), "allow icmp from anywhere")
        my_sg.add_ingress_rule(ec2.Peer.any_ipv4(), ec2.Port.udp(
            2152), "allow udp 2152 from anywhere")
        sctp_port = ec2.Port(protocol=ec2.Protocol.SCTP,
                             string_representation="sctp", from_port=0, to_port=65535)
        my_sg.add_ingress_rule(ec2.Peer.any_ipv4(),
                               sctp_port, "allow sctp from ueransim")
        my_sg.add_ingress_rule(ec2.Peer.any_ipv4(), ec2.Port.tcp(
            80), "allow http from anywhere")

        # Egress rule
        my_sg.add_egress_rule(ec2.Peer.any_ipv4(),
                              ec2.Port.all_traffic(), "allow all traffic")

        # load to my iam
        my_role = iam.Role.from_role_arn(self, "myIam", role_arn=ROLE_ARN)

        machineImage_ubuntu = ec2.MachineImage.generic_linux({
            "ap-northeast-2": 'ami-0c9c942bd7bf113a2'

        })

        core_open5gs_instance = ec2.Instance(self, "coreOpen5GsInstance",
                                             instance_type=ec2.InstanceType(
                                                 "t2.micro"),
                                             machine_image=machineImage_ubuntu,
                                             vpc=defaultVpc,
                                             vpc_subnets=ec2.SubnetSelection(
                                                 subnet_type=ec2.SubnetType.PUBLIC),
                                             security_group=my_sg,
                                             # add role
                                             role=my_role,
                                             key_name=KEY_PAIR,
                                            #  user_data=user_data_for_core
                                             )

        ue_ueransim_instance = ec2.Instance(self, "ueUeransimInstance",
                                            instance_type=ec2.InstanceType(
                                                "t2.micro"),
                                            machine_image=machineImage_ubuntu,
                                            vpc=defaultVpc,
                                            vpc_subnets=ec2.SubnetSelection(
                                                subnet_type=ec2.SubnetType.PUBLIC),
                                            security_group=my_sg,
                                            role=my_role,
                                            key_name=KEY_PAIR,
                                            # user_data=user_data_for_ue
                                            )

        # using CdK output
        CfnOutput(self, "coreOpen5GsInstancePublicDnsName",value=core_open5gs_instance.instance_public_dns_name)
        CfnOutput(self, "coreOpen5GsInstancePublicIp",value=core_open5gs_instance.instance_public_ip)
        CfnOutput(self, "coreOpen5GsInstancePrivateIp",value=core_open5gs_instance.instance_private_ip)

        CfnOutput(self, "ueUeransimInstancePublicDnsName",value=ue_ueransim_instance.instance_public_dns_name)
        CfnOutput(self, "ueUeransimInstancePublicIp",value=ue_ueransim_instance.instance_public_ip)
        CfnOutput(self, "ueUeransimInstancePrivateIp",value=ue_ueransim_instance.instance_private_ip)
아래는 위의 CDK 소스코드를 통해 생성된 CloudFormation입니다.
Resources:
  HelloOpen5GsQuickstartSG5A7DED2E:
    Type: AWS::EC2::SecurityGroup
    Properties:
      GroupDescription: HelloOpen5GsQuickstartStack/HelloOpen5GsQuickstartSG
      SecurityGroupEgress:
        - CidrIp: 0.0.0.0/0
          Description: Allow all outbound traffic by default
          IpProtocol: "-1"
      SecurityGroupIngress:
        - CidrIp: 0.0.0.0/0
          Description: allow ssh from anywhere
          FromPort: 22
          IpProtocol: tcp
          ToPort: 22
        - CidrIp: 0.0.0.0/0
          Description: allow icmp from anywhere
          FromPort: -1
          IpProtocol: icmp
          ToPort: -1
        - CidrIp: 0.0.0.0/0
          Description: allow udp 2152 from anywhere
          FromPort: 2152
          IpProtocol: udp
          ToPort: 2152
        - CidrIp: 0.0.0.0/0
          Description: allow sctp from ueransim
          FromPort: 0
          IpProtocol: "132"
          ToPort: 65535
        - CidrIp: 0.0.0.0/0
          Description: allow http from anywhere
          FromPort: 80
          IpProtocol: tcp
          ToPort: 80
      VpcId: vpc-03a64aee7a0c83b92
    Metadata:
      aws:cdk:path: HelloOpen5GsQuickstartStack/HelloOpen5GsQuickstartSG/Resource
  coreOpen5GsInstanceInstanceProfile201ED00F:
    Type: AWS::IAM::InstanceProfile
    Properties:
      Roles:
        - "your Role arn"
    Metadata:
      aws:cdk:path: HelloOpen5GsQuickstartStack/coreOpen5GsInstance/InstanceProfile
  coreOpen5GsInstance864AE187:
    Type: AWS::EC2::Instance
    Properties:
      AvailabilityZone: ap-northeast-2a
      IamInstanceProfile:
        Ref: coreOpen5GsInstanceInstanceProfile201ED00F
      ImageId: ami-0c9c942bd7bf113a2
      InstanceType: t2.micro
      KeyName:  "input your key pair"
      SecurityGroupIds:
        - Fn::GetAtt:
            - HelloOpen5GsQuickstartSG5A7DED2E
            - GroupId
      SubnetId: subnet-0e03f3cc9d58c5c07
      Tags:
        - Key: Name
          Value: HelloOpen5GsQuickstartStack/coreOpen5GsInstance
      UserData:
        Fn::Base64: "#!/bin/bash"
    Metadata:
      aws:cdk:path: HelloOpen5GsQuickstartStack/coreOpen5GsInstance/Resource
  ueUeransimInstanceInstanceProfile6C71F851:
    Type: AWS::IAM::InstanceProfile
    Properties:
      Roles:
        - test-ssm
    Metadata:
      aws:cdk:path: HelloOpen5GsQuickstartStack/ueUeransimInstance/InstanceProfile
  ueUeransimInstanceD2DF8CE7:
    Type: AWS::EC2::Instance
    Properties:
      AvailabilityZone: ap-northeast-2a
      IamInstanceProfile:
        Ref: ueUeransimInstanceInstanceProfile6C71F851
      ImageId: ami-0c9c942bd7bf113a2
      InstanceType: t2.micro
      KeyName: "input your key pair"
      SecurityGroupIds:
        - Fn::GetAtt:
            - HelloOpen5GsQuickstartSG5A7DED2E
            - GroupId
      SubnetId: subnet-0e03f3cc9d58c5c07
      Tags:
        - Key: Name
          Value: HelloOpen5GsQuickstartStack/ueUeransimInstance
      UserData:
        Fn::Base64: "#!/bin/bash"
    Metadata:
      aws:cdk:path: HelloOpen5GsQuickstartStack/ueUeransimInstance/Resource
  CDKMetadata:
    Type: AWS::CDK::Metadata
    Properties:
      Analytics: v2:deflate64:H4sIAAAAAAAA/1WNwQrCMBBEv6X3ZDX14t2DeLLUD5CYpri2TUqyi5TSf3dFCvU0w3sMU8LRwL6w76xd0+keHzDfyLpO1T5HTs4rcffZu1KEd5yQpnOKPKpTG/7BJWSyQRZi1r4otANsQJVii71wYVemkenb1rNFVRM9Y9gdwBgwxSsj6sSBcPBQ//IDYzbi+7MAAAA=
    Metadata:
      aws:cdk:path: HelloOpen5GsQuickstartStack/CDKMetadata/Default
Outputs:
  coreOpen5GsInstancePublicDnsName:
    Value:
      Fn::GetAtt:
        - coreOpen5GsInstance864AE187
        - PublicDnsName
  coreOpen5GsInstancePublicIp:
    Value:
      Fn::GetAtt:
        - coreOpen5GsInstance864AE187
        - PublicIp
  coreOpen5GsInstancePrivateIp:
    Value:
      Fn::GetAtt:
        - coreOpen5GsInstance864AE187
        - PrivateIp
  ueUeransimInstancePublicDnsName:
    Value:
      Fn::GetAtt:
        - ueUeransimInstanceD2DF8CE7
        - PublicDnsName
  ueUeransimInstancePublicIp:
    Value:
      Fn::GetAtt:
        - ueUeransimInstanceD2DF8CE7
        - PublicIp
  ueUeransimInstancePrivateIp:
    Value:
      Fn::GetAtt:
        - ueUeransimInstanceD2DF8CE7
        - PrivateIp
Parameters:
  BootstrapVersion:
    Type: AWS::SSM::Parameter::Value<String>
    Default: /cdk-bootstrap/hnb659fds/version
    Description: Version of the CDK Bootstrap resources in this environment, automatically retrieved from SSM Parameter Store. [cdk:skip]
Rules:
  CheckBootstrapVersion:
    Assertions:
      - Assert:
          Fn::Not:
            - Fn::Contains:
                - - "1"
                  - "2"
                  - "3"
                  - "4"
                  - "5"
                - Ref: BootstrapVersion
        AssertDescription: CDK bootstrap stack version 6 required. Please run 'cdk bootstrap' with a recent version of the CDK CLI.
위의 CDK 혹은 CloudFormation을 실행하면 아래와 같이 각 인스턴스의 Public IP, Private IP, Public DNS가 출력됩니다.

2. Open5GS
2-1. Open5GS 설치
EC2에 입력된 KeyPair와 위의 DNS를 이용하여 Open5GS 인스턴스에 접속합니다.
ssh -i "ForLocalVSCodeSeoul.pem" ubuntu@ec2-54-180-1-77.ap-northeast-2.compute.amazonaws.com
쉘스크립트를 이용하여 open5gs와 open5gs에 사용되는 mongodb를 설치합니다.
먼저 쉘 스크립트를 열고 아래의 내용을 입력합니다.
touch install_open5gs.sh
chmod 777 install_open5gs.sh
vi install_open5gs.sh
#!/bin/bash
sudo apt update -y
sudo apt install gnupg -y
curl -fsSL https://pgp.mongodb.com/server-6.0.asc | sudo gpg -o /usr/share/keyrings/mongodb-server-6.0.gpg --dearmor -y
sudo apt update -y
sudo apt install -y mongodb-org
sudo systemctl start mongod
sudo systemctl enable mongod
sudo add-apt-repository ppa:open5gs/latest -y
sudo apt update -y
sudo apt install open5gs -y
sudo apt update -y
sudo apt install curl -y
curl -fsSL https://deb.nodesource.com/setup_18.x | sudo -E bash -
sudo apt install nodejs -y
curl -fsSL https://open5gs.org/open5gs/assets/webui/install | sudo -E bash -
sudo sysctl -w net.ipv4.ip_forward=1
sudo sysctl -w net.ipv6.conf.all.forwarding=1
sudo iptables -t nat -A POSTROUTING -s 10.45.0.0/16 ! -o ogstun -j MASQUERADE
sudo ip6tables -t nat -A POSTROUTING -s 2001:230:cafe::/48 ! -o ogstun -j MASQUERADE
이후 쉘 스크립트를 실행하여 설치를 진행합니다.
./install_open5gs.sh
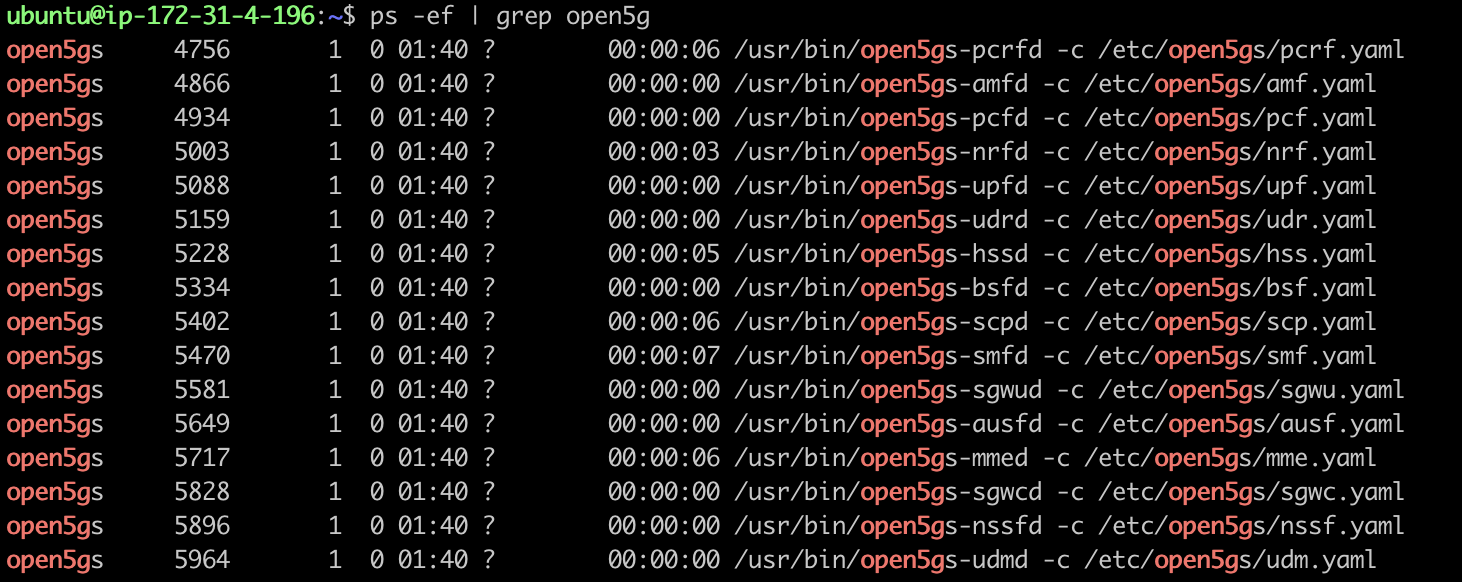
설치가 완료된 이후에는 아래와 같이 프로세스를 통해 확인할 수 있습니다.
2-2. Open5GS Webui 구성 변경
open5gs에서 제공하는 WebUI는 기본으로 3000번 포트로 되어있지만 편의를 위해 80번 포트로 변경후 프로세스를 재실행합니다.
sudo vi /usr/lib/node_modules/open5gs/server/index.js

4번째 라인의 3000을 80으로 변경
const port = process.env.PORT || 80;

112 라인을 아래와 같이 변경
server.listen(port, err => {

저장 후 webui 재실행
sudo systemctl restart open5gs-webui
sudo systemctl status open5gs-webui

...
May 31 08:29:05 ip-172-31-4-196 node[22775]: > Ready on http://localhost:80
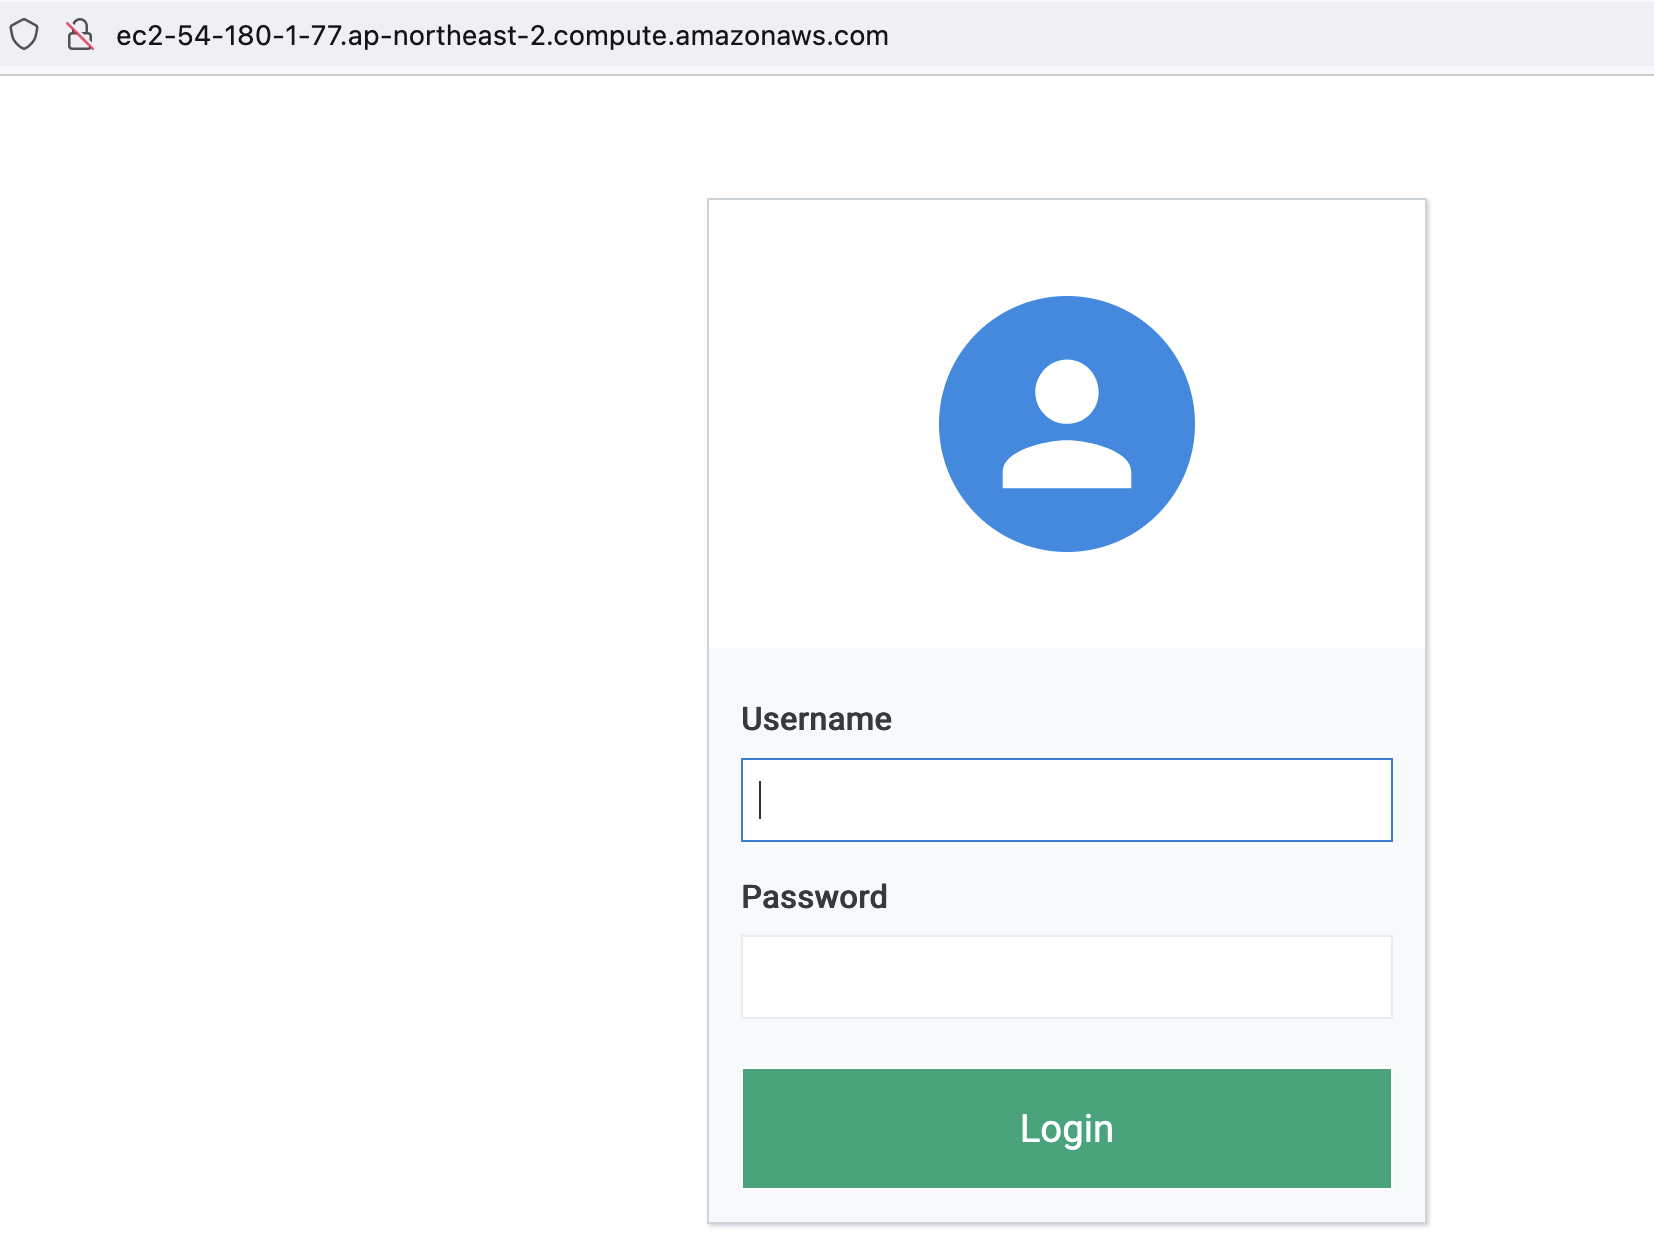
Public DNS을 통해 접근되는 것을 확인합니다.
2-3. AMF, UPF 설정 값 변경
UE 인스턴스와의 통신을 위해 AMF, UPF의 설정을 변경합니다.

open5GS 인스턴스의 Private Ip : 172.31.4.196

/etc/open5gs/amf.yaml의 476라인
127.0.0.5를 172.31.4.196으로 변경

ngap:
  - addr: 172.31.4.196


/etc/open5gs/upf.yaml의 200라인
127.0.0.7을 172.31.4.196으로 변경
gtpu:
  - addr: 172.31.4.196
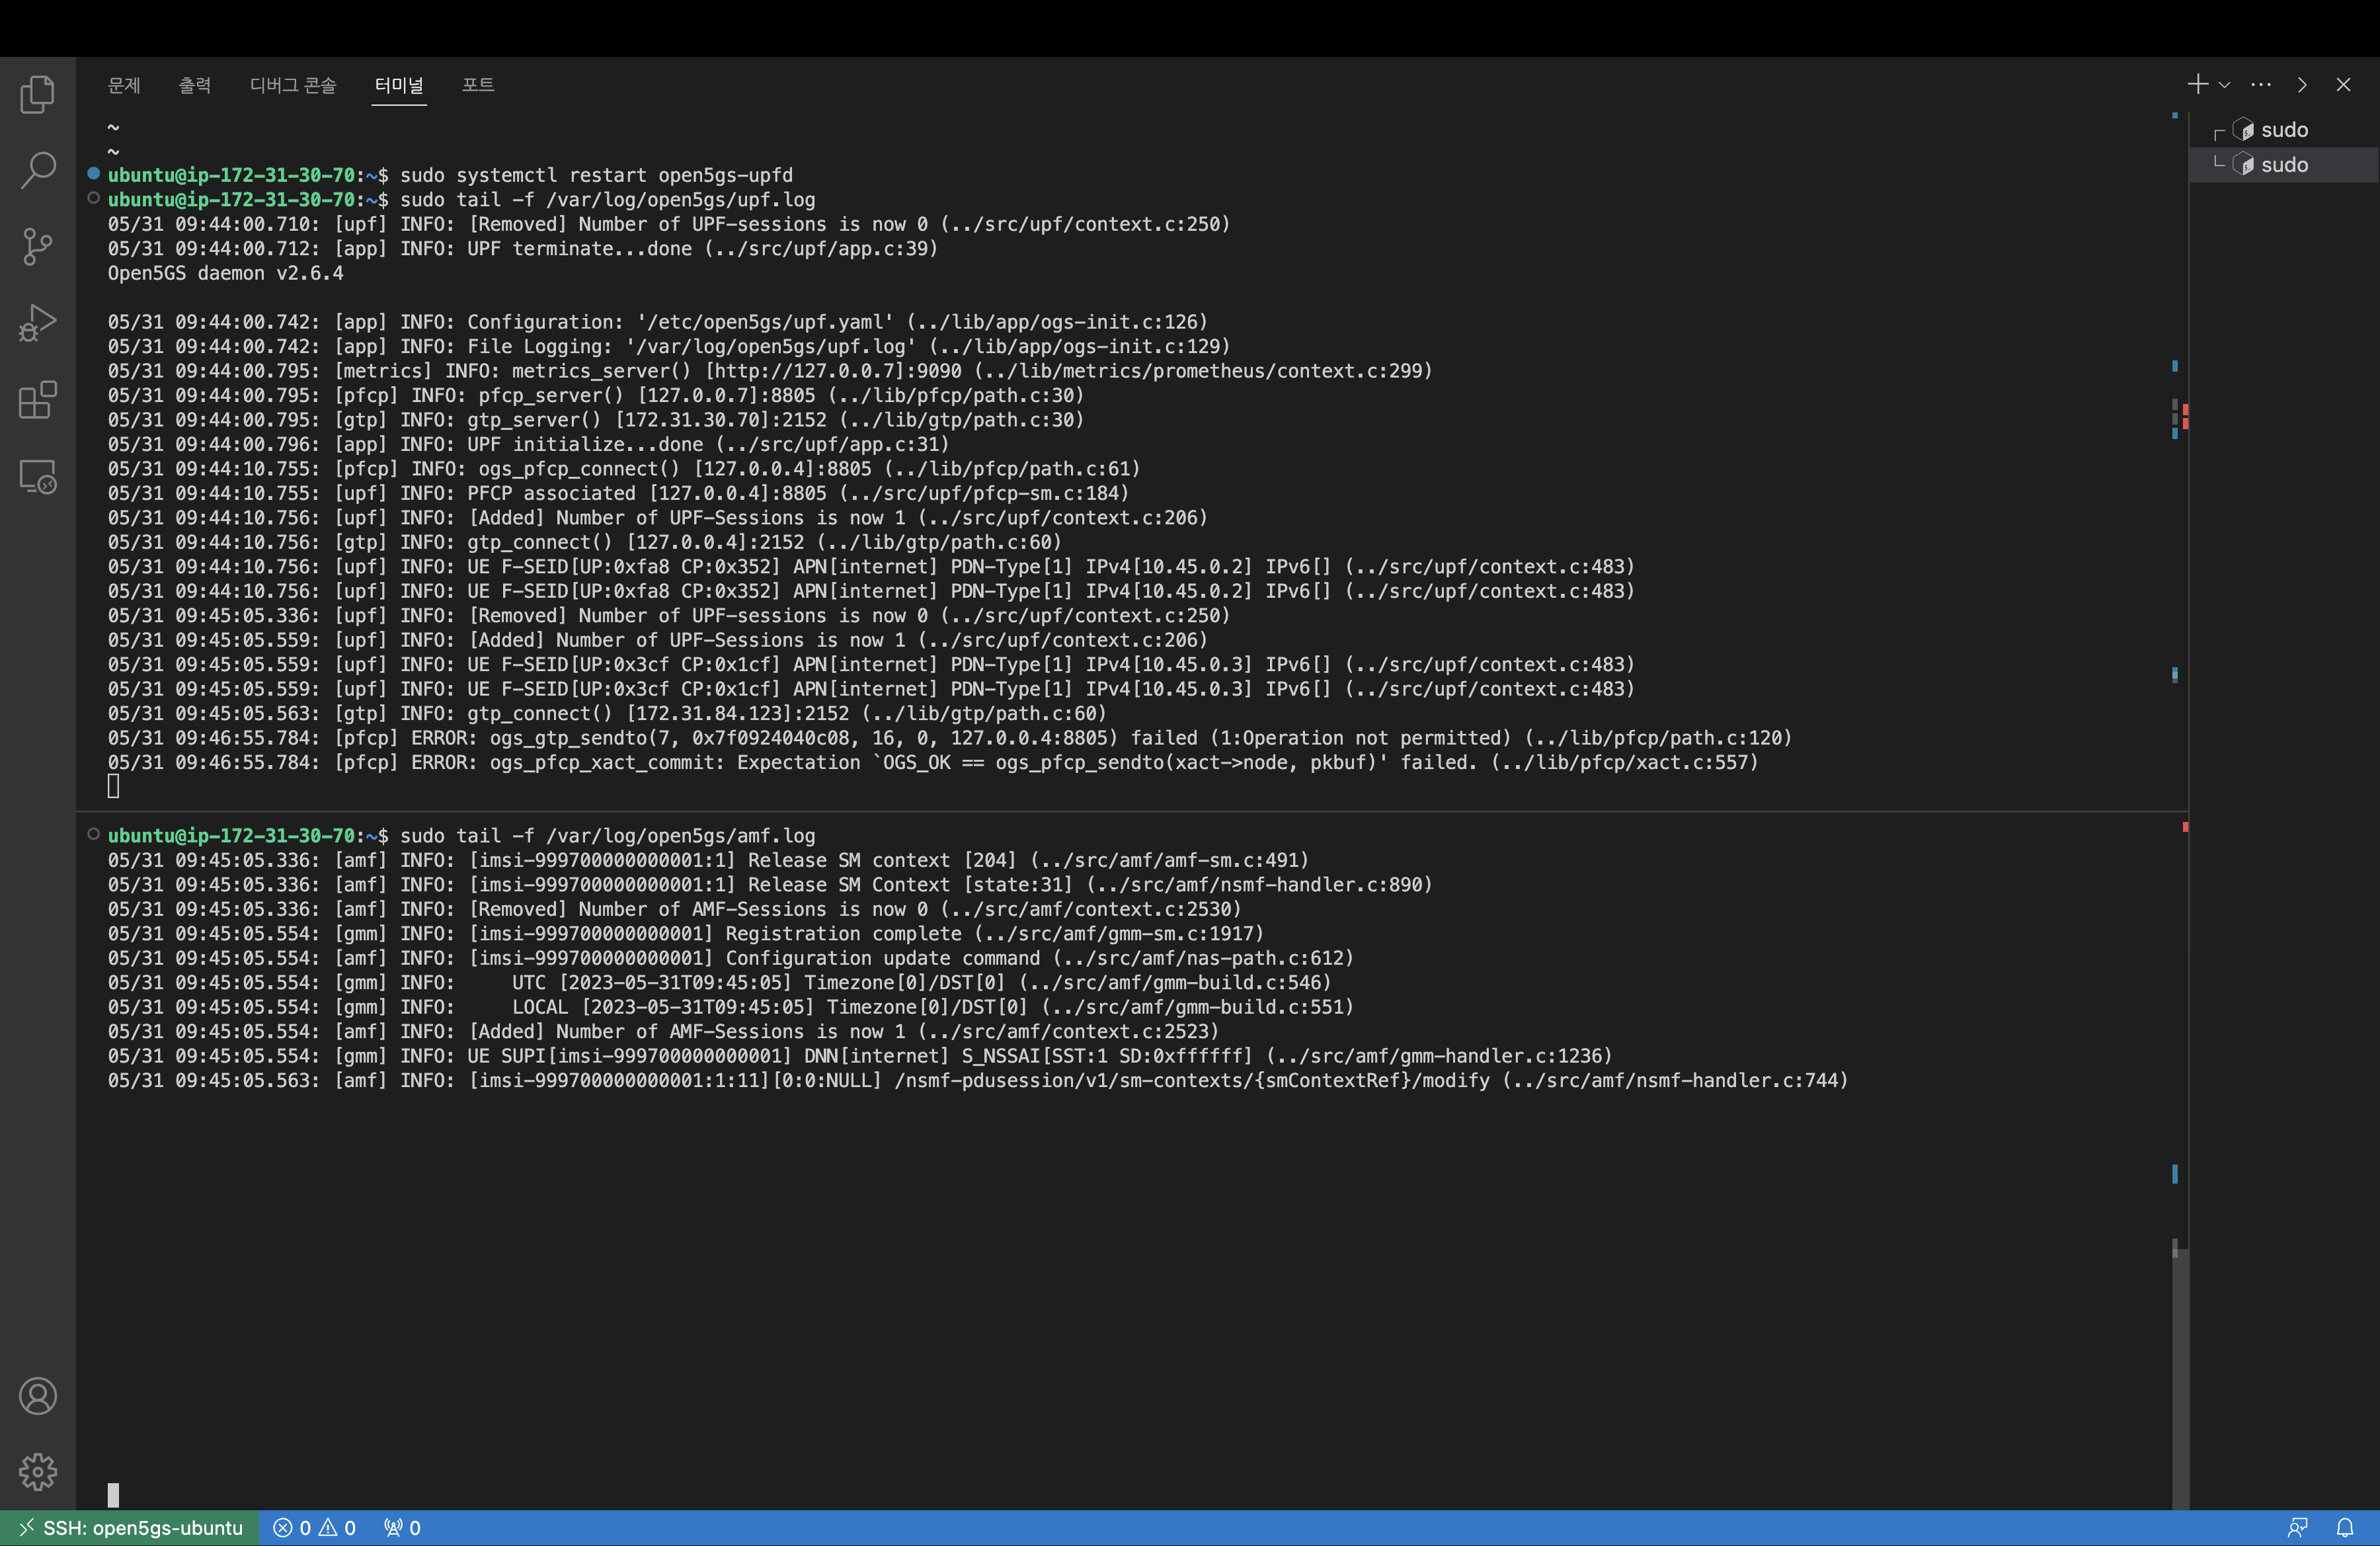
위의 값을 변경 후 아래와 같이 프로세스를 재시작하고 로그를 확인합니다.
sudo systemctl restart open5gs-amfd
sudo systemctl restart open5gs-upfd

sudo tail -f /var/log/open5gs/amf.log
sudo tail -f /var/log/open5gs/upf.log
3. UERANSIM
3-1. UERANSIM 설치
EC2에 입력된 KeyPair와 위의 DNS를 이용하여 UERANSIM 인스턴스에 접속합니다.
ssh -i "ForLocalVSCodeSeoul.pem" ubuntu@ec2-43-202-58-126.ap-northeast-2.compute.amazonaws.com
쉘스크립트를 이용하여 ueransim을 설치합니다.
먼저 쉘 스크립트를 열고 아래의 내용을 입력합니다.
touch install_ueransim.sh
chmod 777 install_ueransim.sh
vi install_ueransim.sh
#!/bin/bash
sudo apt update -y
sudo apt upgrade -y
sudo apt install git -y
cd ~
git clone https://github.com/aligungr/UERANSIM
sudo apt install make -y
sudo apt install gcc -y
sudo apt install g++ -y
sudo apt install libsctp-dev lksctp-tools -y
sudo apt install iproute2 -y
sudo snap install cmake --classic
cd ~/UERANSIM
make -j2
이후 쉘 스크립트를 실행하여 설치를 진행합니다.
./install_ueransim.sh
설치가 완료된 이후에는 아래와 같이 프로세스를 통해 확인할 수 있습니다.
3-2. UERANSIM 설정
아래 명령어를 통해 설정파일을 열고 값을 수정합니다.
sudo vi ~/UERANSIM/config/open5gs-gnb.yaml

ue 인스턴스의 Private IP : 172.31.4.93
open5gs 인스턴스의 Private IP : 172.31.4.196

...
linkIp: 127.0.0.1   # gNB's local IP address for Radio Link Simulation (Usually same with local IP)
ngapIp: 172.31.4.93   # gNB's local IP address for N2 Interface (Usually same with local IP)
gtpIp: 172.31.4.93    # gNB's local IP address for N3 Interface (Usually same with local IP)

# List of AMF address information
amfConfigs:
  - address: 172.31.4.196
    port: 38412
3-3 UE 등록
open5GS 인스턴스에서 실행된 Webui에 접속하여 UE를 등록합니다.
위의 2-2에서 접속하였던 Admin 페이지로 접속하여 admin/1423을 입력합니다.
아래의 명령어를 통해 IMSI 값을 확인하고 Subscriber에 추가를 합니다.
$ cat /home/ubuntu/UERANSIM/configopen5gs-ue.yaml | head

# IMSI number of the UE. IMSI = [MCC|MNC|MSISDN] (In total 15 digits)
supi: 'imsi-999700000000001'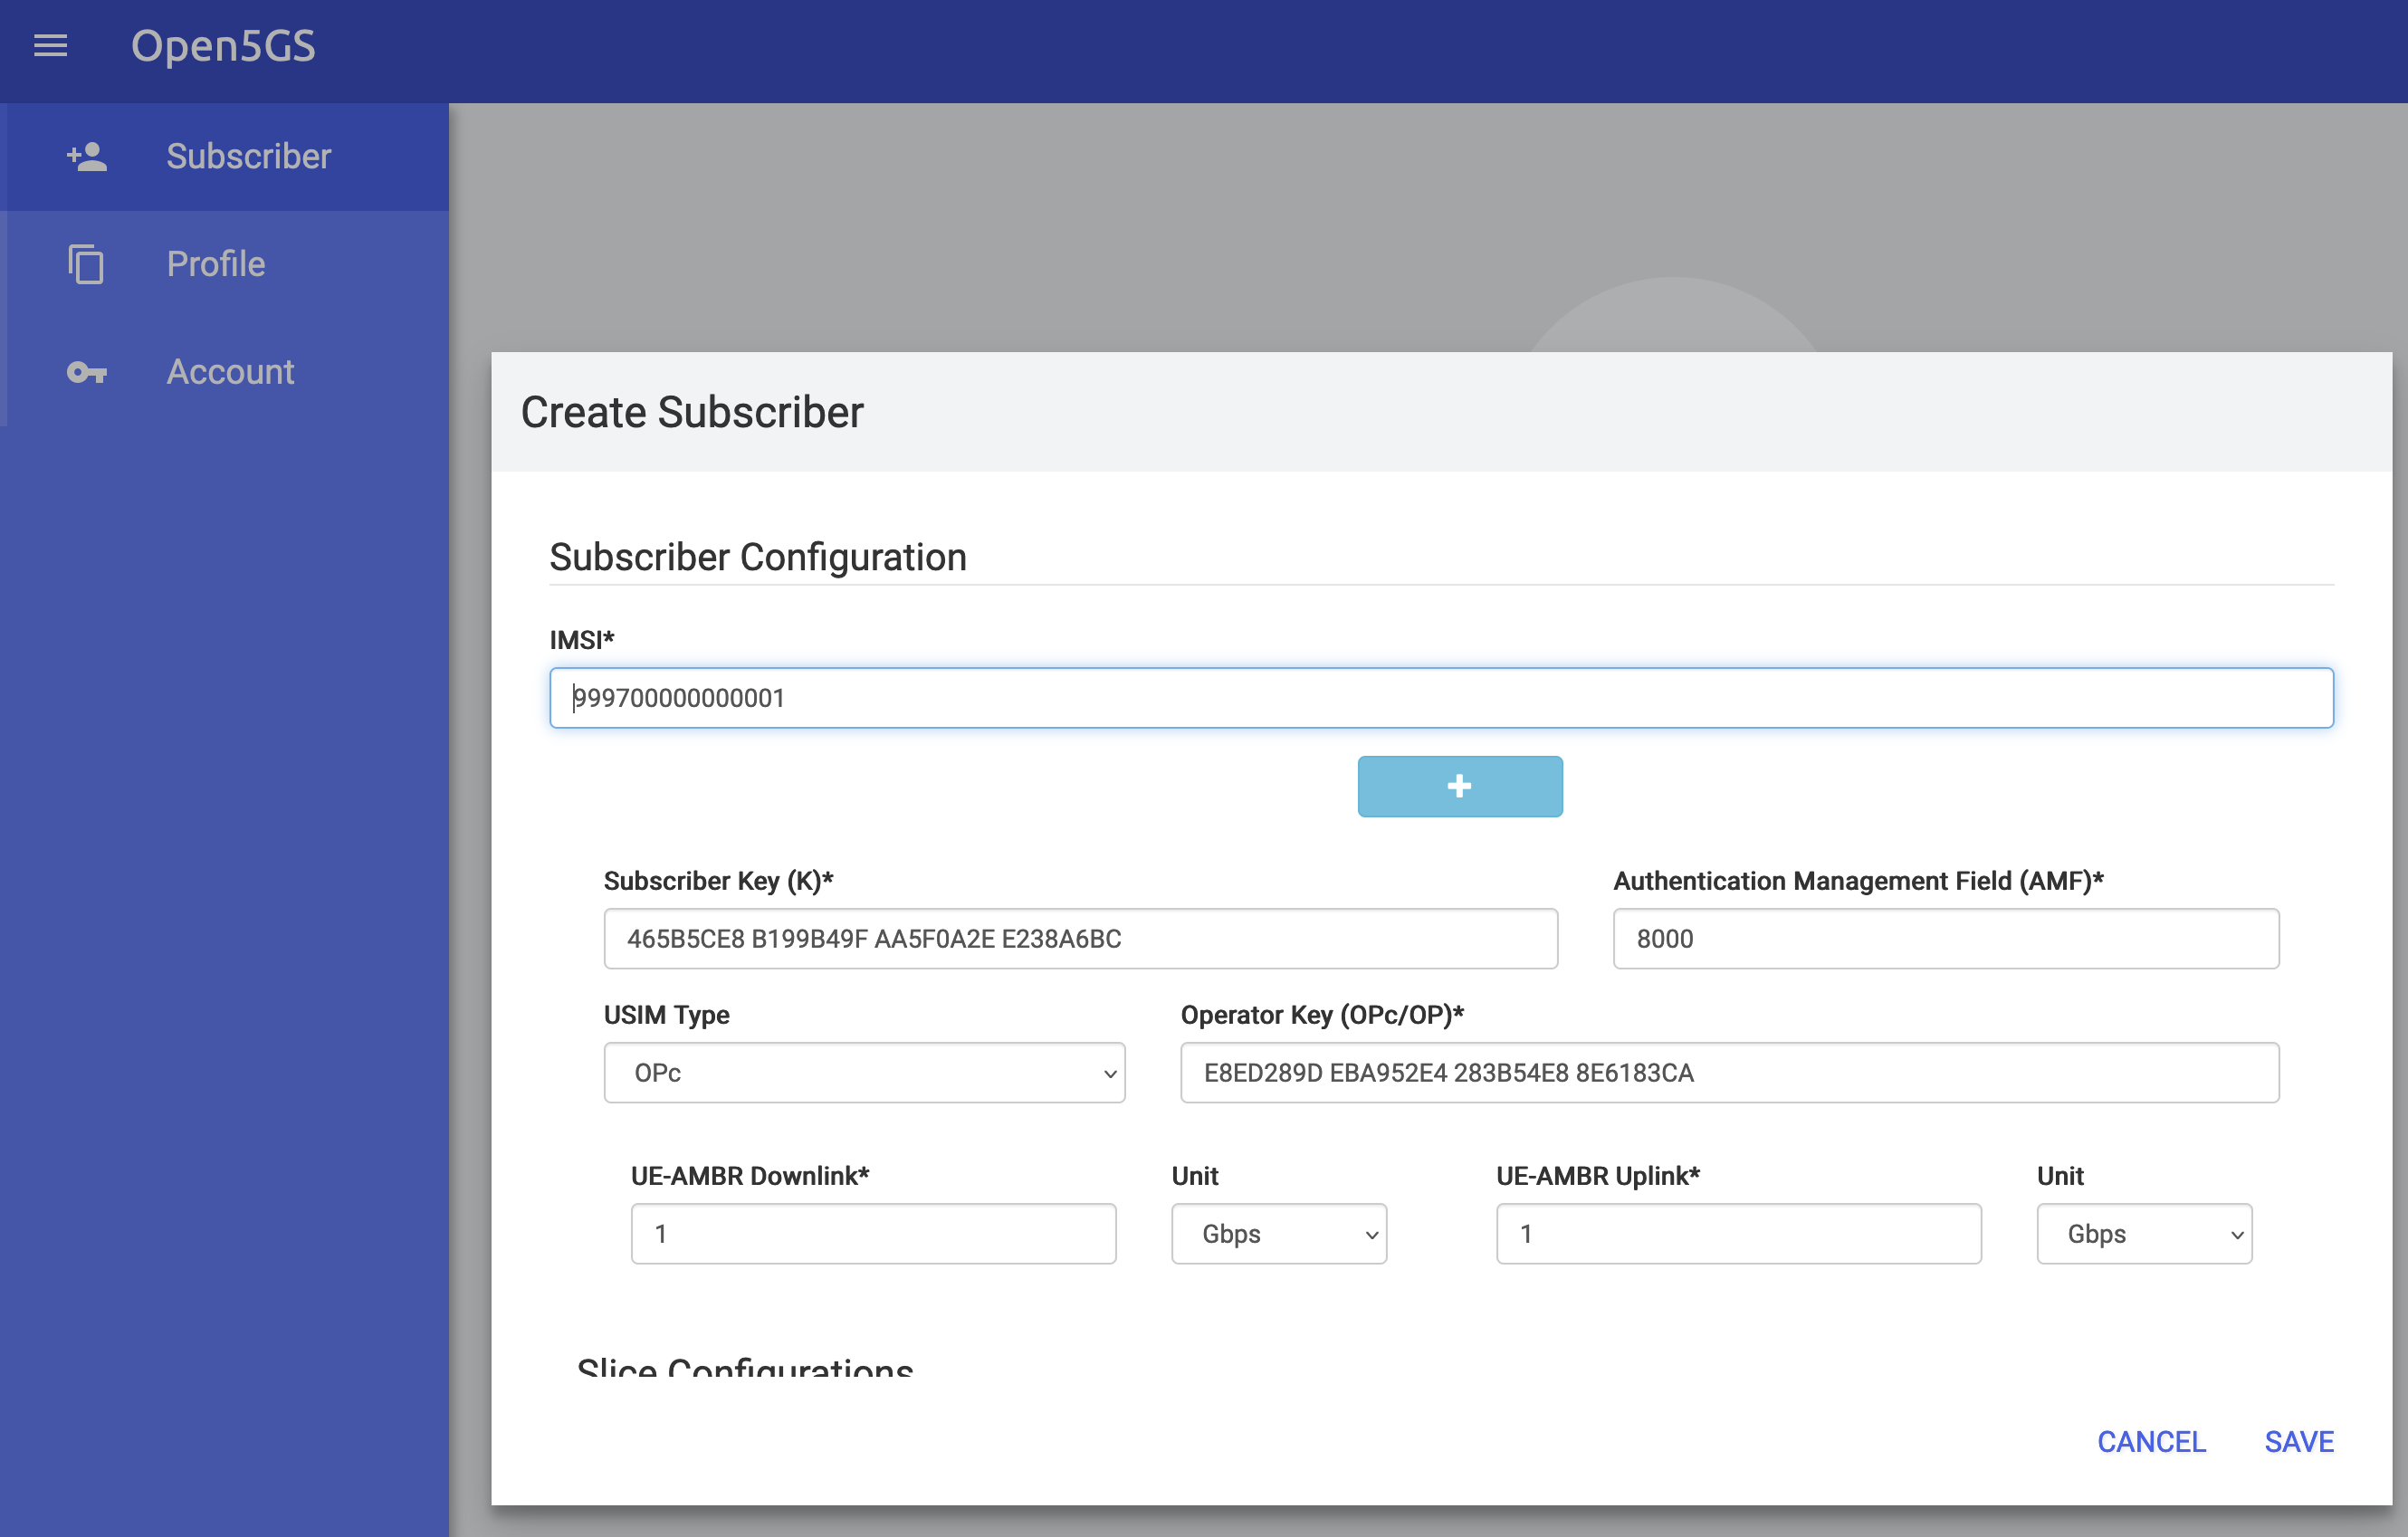
3-4. UERANSIM 실행
아래 명령어를 통해 gNB를 실행합니다.
cd ~/UERANSIM/build
./nr-gnb -c ../config/open5gs-gnb.yaml
아래 명령어를 통해 UE를 실행합니다.
cd ~/UERANSIM/build
sudo ./nr-ue -c ../config/open5gs-ue.yaml
4. 결과 확인
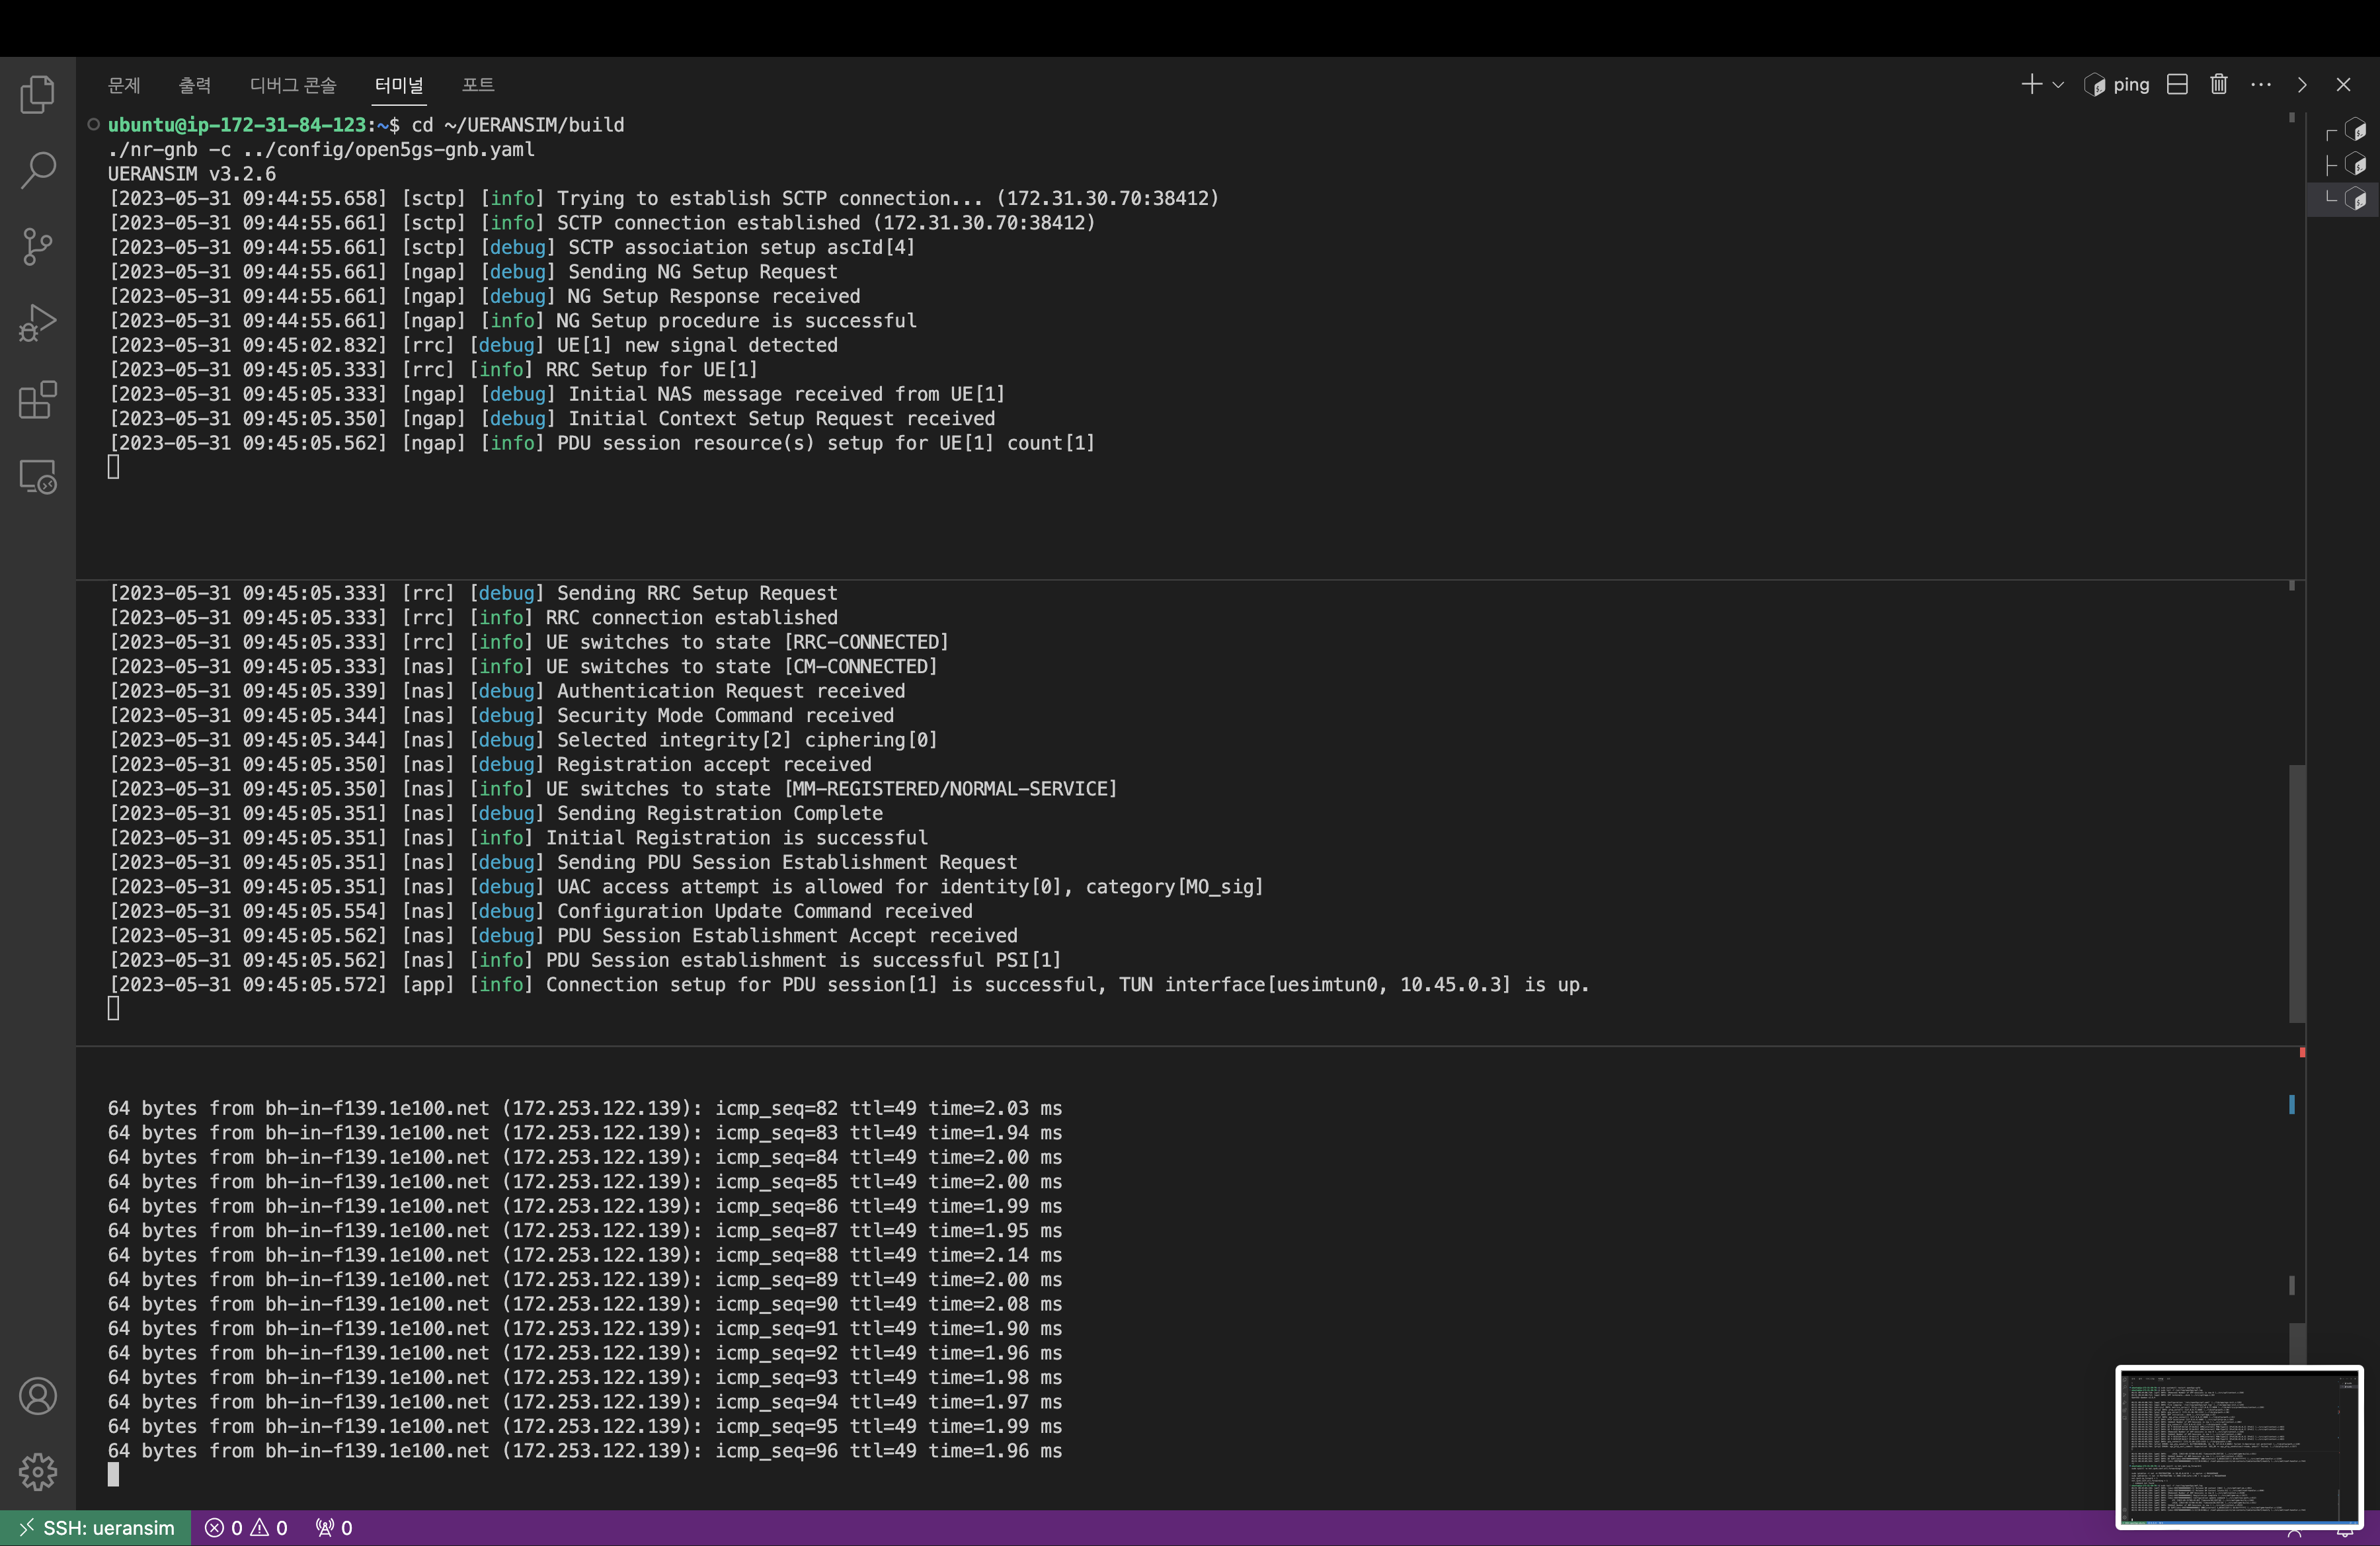
위의 절차가 무사히 완료되었다면 ueransim 인스턴스에서 아래의 인터페이스를 확인할 수 있습니다.
ubuntu@ip-172-31-4-93:~$ ip addr
...
3: uesimtun0: <POINTOPOINT,PROMISC,NOTRAILERS,UP,LOWER_UP> mtu 1400 qdisc fq_codel state UNKNOWN group default qlen 500
    link/none
    inet 10.45.0.2/32 scope global uesimtun0
       valid_lft forever preferred_lft forever
    inet6 fe80::3314:f351:fc60:e458/64 scope link stable-privacy
       valid_lft forever preferred_lft forever
그리고 아래 명령어를 통해 UE -> gNB -> UPF -> 인터넷의 통신을 확인할 수 있습니다.
ping -I uesimtun0 google.com
- 참고사이트
https://open5gs.org/open5gs/docs/guide/01-quickstart/
Quickstart
1. Introduction to Open5GS
open5gs.org
https://medium.com/rahasak/5g-core-network-setup-with-open5gs-and-ueransim-cd0e77025fd7